
How to Make Your Own Headbands
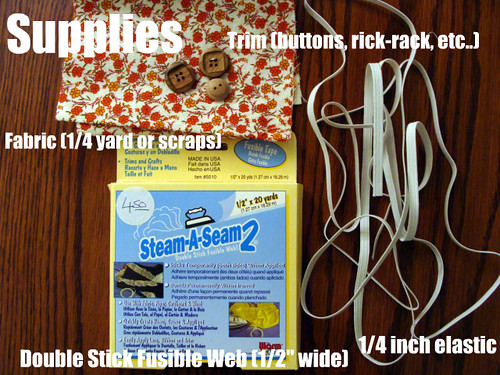
Supplies:
- 1/4 yard of Fabric (You can also just use scraps that you have laying around.)
- 1/4 inch wide elastic
- Thread
- Sewing Machine
- Iron
- Trimmings (Rick-Rack, Buttons, Lace, Fabric Flowers, etc...)
- Fusible Webbing (Optional) [Mine is 1/2 inch wide, sticky on both sides, and comes in a box. You don't have to have this, but I like how it makes the headband a little more sturdier, and I have less pinning to do when I sew the headband.]
1. The first step is to measure your head. Like how I did in the picture below. Take note on your measurement, mine is 22 1/2 inches.
.jpg)
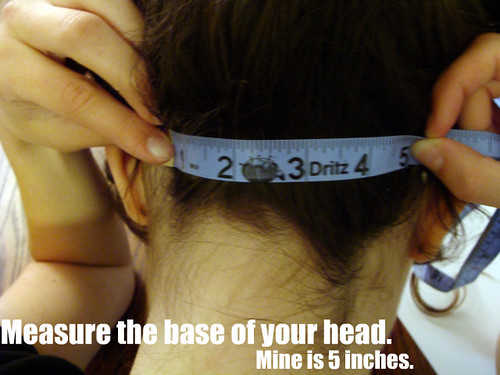
2. Measure the base of your head (see picture below). This is too find out how much elastic you need to cut. Mine is 5 inches.
3. Now it is time for a little math. Follow the instructions below for the next step.

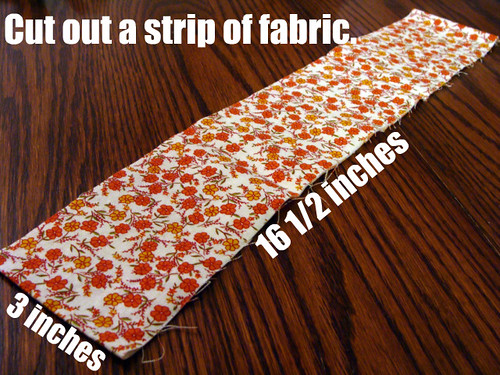
4. Cut out a strip of fabric that is the total of your math problem above (mine came up as 16 1/2 inches) in length, and 3 inches across (You can experiment with different widths for different looks).
5. Fold over an 1/2 inch on each side (the long side). Iron.

6. Fold strip in half lengthwise. Iron.

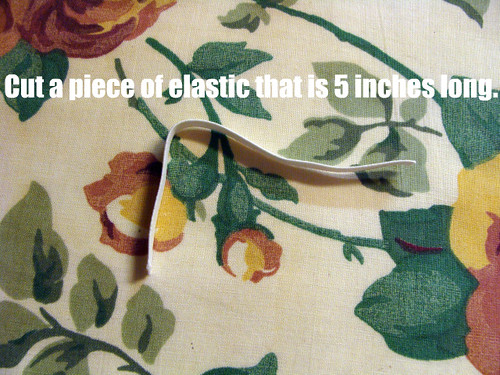
7. Cut a piece of elastic that is the measurement of the base of your head.
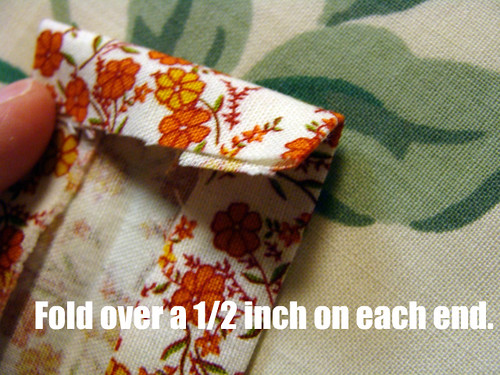
8. Fold over 1/2 inch on each end. Iron.
9. If you are using fusible webbing you will follow the photo instructions. If not, you will just skip to number 11.
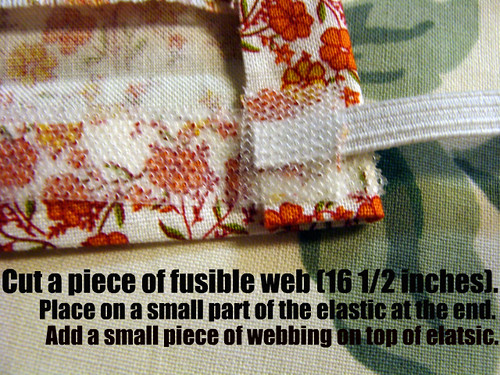
10. Press half way. Then repeat the second half of step nine, place a small part of the elastic on the other end, and remember to add a small piece of webbing on top of the elastic. Finish ironing.
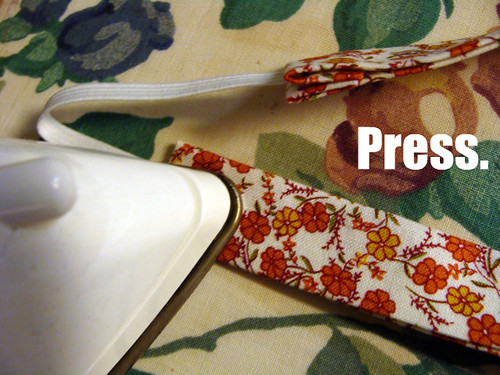
11. Stitch around the open edges of your headband. Make sure to do a few more stitches over the elastic, making sure it won't come out anytime soon.

12. Now it is time for the fun part! Embellishing your headband in any way you want. I will show how to add rick-rack down the center of your headband.


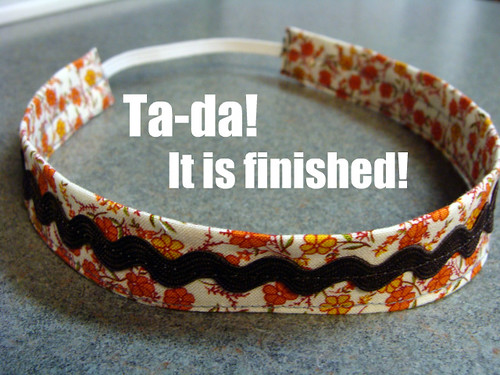

If you use my tutorial, I would love to see your results! :)

Great tutorial Ashley! I think I'll make one soon!
ReplyDeleteThis is lovely, I'll have to give it a try. Your instructions look very detailed and simple, something I need. : )
ReplyDeleteThanks
Great post! You made it look so easy!!
ReplyDeletehttp://bresbaubles.blogspot.com
I made this headband a few weeks ago! I really like it. I like the idea of the flower on the side; it really adds a nice touch. :)
ReplyDeleteI love this tutorial, Ashley! Cute fabric too. :) I'll have to try this soon.
ReplyDeletehow cute! I'd love to try this, but I haven't the patience for sewing and I dont even know where to get those fusable band things. lazy me.
ReplyDeletecheck out my blog too, an dplease feel free to follow :-) atouchofgaminesque.blogspot.com/